How To Use Oven Step By Step And Start Cooking Today
Learning how to use oven step by step is easier than you think. This guide walks you through preheating, setting temperatures, and cooking with confidence. You will discover essential tips for baking, roasting, and broiling safely. Whether you own a conventional oven or a convection oven, this tutorial covers it all. By the end, you will be ready to start cooking delicious meals right away.
Have you ever stood in front of your oven feeling completely lost? You are not alone. Many people feel intimidated the first time they need to use an oven for cooking. The buttons, dials, and settings can feel overwhelming at first glance.
But here is the good news. Using an oven step by step is actually quite simple once you understand the basics. In this guide, we will walk you through every single step. From turning it on to pulling out a perfectly baked dish, we have got you covered. You do not need any fancy cooking skills. All you need is a little confidence and this handy guide.
By the time you finish reading, you will know exactly how to preheat your oven, set the right oven temperature settings, and cook food safely. We will also share practical tips that even experienced home cooks use every day. So let us dive in and get you started on your cooking journey today.
Key Takeaways
- Always preheat your oven: Preheating ensures even cooking and better results every time.
- Know your oven type: Convection ovens circulate hot air, while conventional ovens use static heat.
- Position racks correctly: Proper oven rack positioning affects cooking quality and browning.
- Use an oven thermometer: Built-in thermostats can be inaccurate, so a separate thermometer helps.
- Avoid common mistakes: Overcrowding, skipping preheating, and opening the door too often cause problems.
- Clean regularly: A clean oven performs better and lasts longer.
- Start simple: Begin with easy recipes and build your skills over time.
📑 Table of Contents
Understanding Your Oven
Before you start cooking, it helps to know what you are working with. Every oven has basic parts and functions. Understanding them makes the whole process much smoother. Let us break it down.
Types of Ovens
Not all ovens are the same. Most homes have one of two main types. The first is a conventional oven. This type uses static heat that rises from the bottom element. It works great for most everyday cooking tasks.
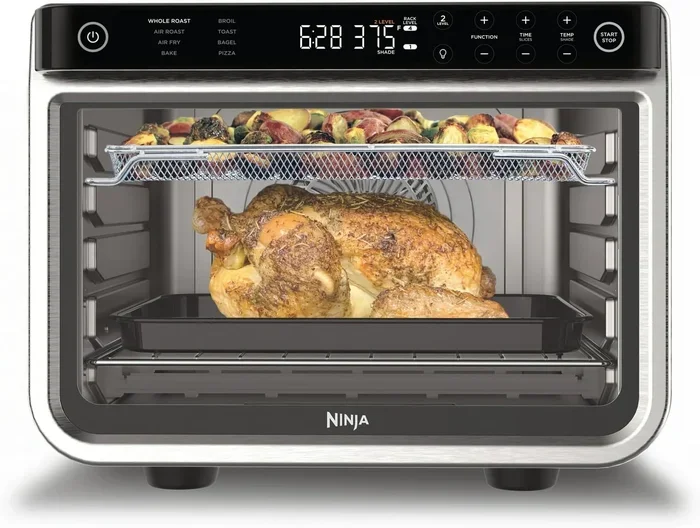
The second type is a convection oven. It has a fan and a back element that circulate hot air around the food. This means food cooks faster and more evenly. Many modern energy-efficient ovens come with convection as a standard feature. Some ovens also have a steam function or a pizza oven mode built in.
If you are not sure which type you have, check your user manual. You can also look for a fan inside. If your oven has a fan, it is likely a convection model.
Key Parts of an Oven
Every oven has a few essential parts you should know about:
- Oven door: This is the front panel you open to load and unload food.
- Oven racks: These are the metal shelves inside where you place your dishes.
- Heating elements: These are the coils at the top and bottom that generate heat.
- Thermostat: This controls the internal temperature of the oven.
- Control panel: This is where you set the temperature and cooking mode.
- Interior light: This lets you check on your food without opening the door.
Knowing these parts helps you feel more comfortable when you start using your oven. It also makes troubleshooting easier if something does not work as expected.
How To Preheat Your Oven
Preheating is one of the most important steps in oven cooking. Skipping it can lead to unevenly cooked food. Let us walk through the process.
Why Preheating Matters
When you preheat your oven, you bring the entire interior up to the target temperature before food goes inside. This ensures that your dish starts cooking the moment it enters the oven. Without preheating, food may cook unevenly or take much longer to be ready.
Think of it like warming up a car on a cold morning. You want everything running smoothly before you start driving. The same idea applies to oven preheating.
How Long to Preheat
Most ovens need about 10 to 15 minutes to reach the desired temperature. Some newer models with powerful heating elements may be ready in as little as 5 minutes. Here is a simple way to know when your oven is ready:
- Wait for the preheat signal, if your oven has one.
- Use an oven thermometer to check the actual temperature inside.
- Listen for a beep or watch for an indicator light to turn off.
Many people rely on the built-in thermostat, but these can be off by 25 degrees or more. Investing in a simple baking thermometer takes the guesswork out of preheating.
Setting the Temperature and Cooking Mode
Once your oven is preheated, it is time to set the right temperature and cooking mode. This step determines how your food will be cooked. Let us break it down clearly.
Bake vs Broil
Most ovens offer two primary cooking modes. The bake mode uses heat from the bottom element. It is ideal for cakes, cookies, casseroles, and bread. The heat wraps around the food gently and cooks it evenly from below.
The broil mode uses the top heating element only. It creates intense, direct heat from above. This is perfect for browning the top of dishes, melting cheese, or charring vegetables. Bake vs broil is a common comparison, and understanding the difference makes a big impact on your cooking results.
Here is a quick comparison:
- Bake: Bottom heat, gentle and even, best for baked goods and casseroles.
- Broil: Top heat, intense and direct, best for browning and finishing dishes.
Convection vs Conventional Cooking
If your oven has a convection mode, it uses a fan to spread hot air throughout the cavity. This reduces hot spots and shortens cooking times by about 25 percent. You can use convection for roasting, baking, and even dehydrating.
However, there are times when you should stick with conventional cooking. Delicate baked goods like soufflés and custards can be disturbed by the fan’s airflow. In those cases, conventional mode works better.
A good rule of thumb: when using convection, reduce the temperature by about 25 degrees Fahrenheit. The fan makes the oven more efficient, so lower temperatures produce the same results.
Step-by-Step Cooking Process
Now that your oven is preheated and set, it is time to actually cook. This is where the magic happens. Follow these steps for the best results every time.
Step 1: Prepare Your Dish
Before anything goes into the oven, make sure your dish is ready. This means mixing ingredients, shaping dough, or seasoning your protein. Use oven-safe cookware only. Glass, metal, and ceramic dishes labeled oven-safe work perfectly well.
Never use plastic, paper, or wood containers inside a hot oven. They can melt, catch fire, or release harmful chemicals. Always double-check your baking sheets and pans for any damage or warping before use.
Step 2: Position the Oven Rack
Oven rack positioning plays a huge role in how your food cooks. Here are some general guidelines:
- Bottom rack: Best for pizzas and bread that need strong bottom heat.
- Middle rack: The default position for most baking and roasting tasks.
- Top rack: Great for broiling or dishes that need more top heat.
Always place your dish in the center of the oven unless a recipe says otherwise. This allows hot air to circulate evenly around the food.
Step 3: Load the Oven Carefully
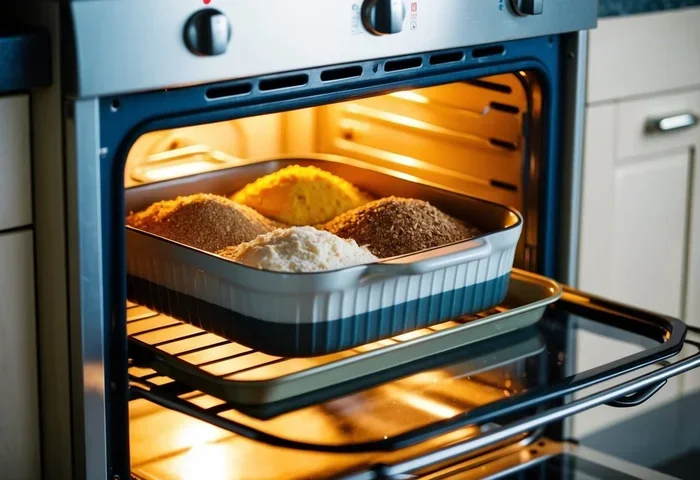
Open the oven door slowly and pull the rack out gently. Place your dish in the center of the rack. Push the rack back in carefully, making sure nothing touches the heating elements.
Always wear oven mitts when handling hot racks and dishes. Even a brief touch to a hot surface can cause painful burns. Keep a heat-resistant surface nearby for placing hot trays and pans.
Step 4: Set the Timer and Monitor
Use the built-in timer or set a separate one on your phone. Most recipes include recommended cooking times, but ovens vary. Start checking your food a few minutes before the suggested time.
Avoid opening the oven door too frequently. Every time you open it, heat escapes and the temperature drops. This can increase cooking time and affect the texture of your food. Use the interior light to check on progress instead.
Step 5: Test for Doneness
How do you know when your food is ready? For baked goods, use a toothpick test. Insert it into the center of a cake or muffin. If it comes out clean, your bake is done. For meats, use a meat thermometer to check the internal temperature.
Never rely solely on color or cooking time. Every oven is slightly different, and factors like altitude and humidity can affect results. A baking thermometer takes the guesswork out of the equation.
Step 6: Remove and Cool
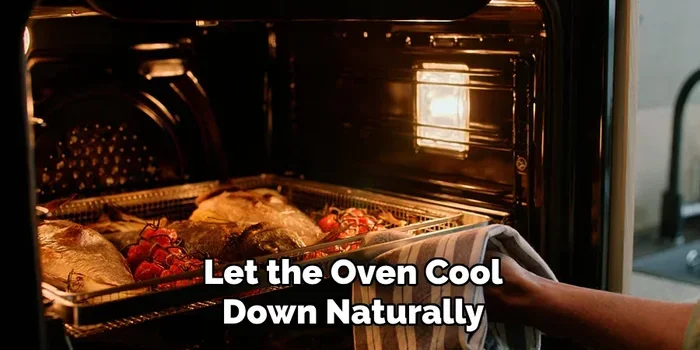
When your food is done, carefully pull the rack out. Use oven mitts to remove the hot dish. Place it on a heat-safe trivet or cooling rack. Allow baked goods to cool for the recommended time before slicing or serving.
This resting period is important. It allows the structure of baked items to set. Cutting into a warm cake too early can cause it to collapse or crumble.
Common Mistakes and How to Avoid Them
Even experienced cooks make mistakes in the oven. The good news is that most of these errors are easy to fix once you know what they are.
Overcrowding the Oven
One of the most common mistakes is putting too much food in the oven at once. When you overcrowd the oven, hot air cannot circulate properly. This leads to uneven cooking and soggy results.
Instead, cook in batches if needed. Give each dish enough space for air to flow around it. A little extra time spent cooking in batches is always worth it for better results.
Skipping the Preheat
Some people skip preheating to save time. This is a mistake. Putting food into a cold oven means it starts cooking slowly and unevenly. Your dish may end up undercooked in the center and overcooked on the edges.
Always give your oven the full preheat time. It is a small investment that pays off in better texture and flavor.
Opening the Door Too Often
We all want to check on our food. But every peek lets out a burst of heat. This causes temperature fluctuations that can ruin delicate bakes like soufflés and meringues.
Trust your timer and the oven light. Only open the door when you truly need to check for doneness.
Oven Maintenance and Cleaning Tips
A well-maintained oven cooks better and lasts longer. Regular care also keeps your kitchen safe and hygienic. Here are some simple tips to keep your oven in top shape.
Self-Cleaning vs Manual Cleaning
Many modern ovens come with a self-cleaning feature. This function uses very high heat to burn off food residue and grease. It is convenient and requires minimal effort. However, self-cleaning cycles can take several hours and produce smoke.
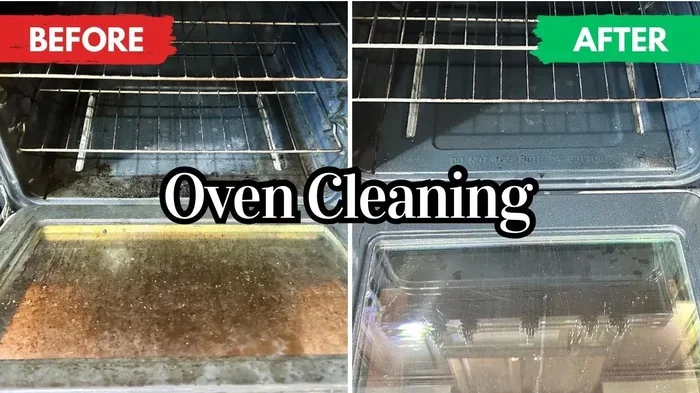
If your oven does not have a self-cleaning option, you can clean it manually. Use a gentle oven cleaner or a paste made from baking soda and water. Let it sit on the interior surfaces for 15 to 30 minutes, then wipe it away with a damp cloth.
Daily Cleaning Habits
Small daily habits make a big difference over time:
- Wipe up spills immediately after the oven cools down.
- Place a baking sheet or aluminum foil on the rack below your dish to catch drips.
- Clean the oven racks regularly with warm soapy water.
- Check the door seal for cracks and replace it if needed.
These simple routines keep your oven running efficiently and extend its lifespan significantly.
Expert Tips for Better Results
Want to take your oven cooking to the next level? Here are some insider tips that professional bakers and chefs use regularly.
Invest in an oven thermometer. As mentioned earlier, built-in thermostats can be inaccurate. A standalone thermometer placed inside your oven gives you a reliable reading of the actual temperature. This one tool can completely transform your cooking results.
Rotate your dishes halfway through. Most ovens have slight hot spots. Rotating your pan 180 degrees midway through cooking ensures even browning and baking. This is especially important for large items like roasts and whole cakes.
Let your oven warm up fully. Preheating is not just about reaching the target temperature. Give your oven an extra 5 to 10 minutes after the preheat signal. This allows the entire interior to reach a stable, even temperature.
Use the right bakeware. Dark pans absorb more heat and can cause over-browning. Light-colored or shiny pans reflect heat and promote even cooking. If you only have dark pans, reduce the oven temperature by about 25 degrees.
Keep a cooking log. This might sound extreme, but it works. Write down what you cooked, the temperature, the time, and the results. Over time, you will learn exactly how your specific oven behaves. This personalized knowledge is invaluable.
Key Takeaways
- Always preheat your oven: Preheating ensures even cooking and better results every time.
- Know your oven type: Convection ovens circulate hot air, while conventional ovens use static heat.
- Position racks correctly: Proper oven rack positioning affects cooking quality and browning.
- Use an oven thermometer: Built-in thermostats can be inaccurate, so a separate thermometer helps.
- Avoid common mistakes: Overcrowding, skipping preheating, and opening the door too often cause problems.
- Clean regularly: A clean oven performs better and lasts longer.
- Start simple: Begin with easy recipes and build your skills over time.
Conclusion
Using an oven step by step does not have to be scary or confusing. You now have all the knowledge you need to get started. From preheating and setting the right temperature to positioning your dish and monitoring cooking times, every step is within your reach.
Remember that practice makes perfect. Your first few bakes might not be flawless, and that is completely okay. Every cook learns through experience. The more you use your oven, the more comfortable and confident you will become.
Start with simple recipes you enjoy. A basic batch of cookies or a simple roasted chicken is a perfect way to build your skills. As you grow more confident, you can try more advanced techniques and recipes.
The most important thing is to have fun with it. Cooking should bring joy and satisfaction. So go ahead, turn on your oven, and start cooking today. You will be amazed at what you can create with a little knowledge and a lot of enthusiasm.
Frequently Asked Questions
Do I really need to preheat my oven every time?
Yes, preheating is essential for most recipes. It ensures your food starts cooking at the right temperature from the moment it goes in. Skipping preheat can lead to uneven cooking and longer bake times. The only exception is some slow-cooking recipes that explicitly state you can put food in a cold oven.
Can I use aluminum foil inside my oven?
Yes, aluminum foil is safe to use in most ovens. It is great for lining baking sheets and catching drips. However, avoid covering the oven racks or blocking the bottom heating element, as this can affect heat distribution. Never let foil touch the heating elements directly.
How do I know if my oven temperature is accurate?
The easiest way is to use an oven thermometer. Place it inside your oven and compare the reading to the setting on your control panel. If there is a big difference, your oven may need recalibration. Many ovens can be adjusted by accessing the thermostat settings in the manual.
What is the difference between bake and roast mode?
In most ovens, bake and roast are very similar. Both use bottom and top heating elements. Roast mode typically uses slightly higher temperatures and is designed for meats and vegetables. Bake mode is generally used for breads, cakes, and casseroles. In practice, you can often use either mode for the same dish.
How often should I clean my oven?
You should wipe down your oven after every use once it has cooled. A deeper clean with oven cleaner or a baking soda paste should be done every one to three months, depending on how often you cook. Regular cleaning prevents grease buildup and keeps your oven performing at its best.
Is it safe to leave the oven on while I am out?
No, it is never safe to leave an oven unattended for long periods, especially when you are not at home. Ovens can malfunction, and grease fires can start without warning. Always stay in the kitchen while cooking, and turn off the oven when you are done. This is one of the most important kitchen safety rules.